How to install OTRS 3.1 on CentOS 6.2 - Part 2
OTRS is the leading open-source Help Desk and IT Service Management (ITSM) solution used by thousands of organizations worldwide. This guide explains the steps involved in installing the latest OTRS release on a minimal CentOS 6.2 installation.
CentOS (Community ENTerprise Operating System) is an Enterprise-class Linux Distribution derived from sources freely provided to the public by a prominent North American Enterprise Linux vendor.
Due to the length of this guide, it had to be split in two parts. The first part will focus on getting CentOS 6.2 ready for the OTRS 3.1 installation, while the second part will be about installing and extending OTRS 3.1.
Part 2 - Installing OTRS 3.1
For further information about OTRS, please head over to their open source page at http://www.otrs.com/en/open-source/.
The link “Get OTRS” will get you to the download page for OTRS 3.1. The download page gets flipped upside down ever so often, but make sure you download the stable version for CentOS / Red Hat / Fedore (the package is the same for all Red Hat based distributions). Unfortunately I can now longer find any checksums listed to verify the downloaded package, but if they should reaper then always verify the package before installing.
To download the current version of OTRS (3.1.3) use the command:
wget http://ftp.otrs.org/pub/otrs/RPMS/fedora/4/otrs-3.1.3-03.noarch.rpm
We’ll be using “localinstall” to install the package as this method will use the enabled repositories to resolve additional dependencies. Since we don’t have a GPG signature for this package, gpgcheck needs to be disabled for the install to complete.
Install OTRS 3.1 by using the command:
yum --nogpgcheck localinstall otrs-3.1.3-03.noarch.rpm
When the installation completes, restart the web server by using the command:
service httpd restart
You should also pay notice the information OTRS displays on your console. Fire up a web browser and follow the (respective) instructions below. Follow the instructions to start the OTRS web installer.
OTRS 3.1 – Running the web installer
This should not present much of a challenge if you have memorized your database root password, and have an understanding of your current mail routing.
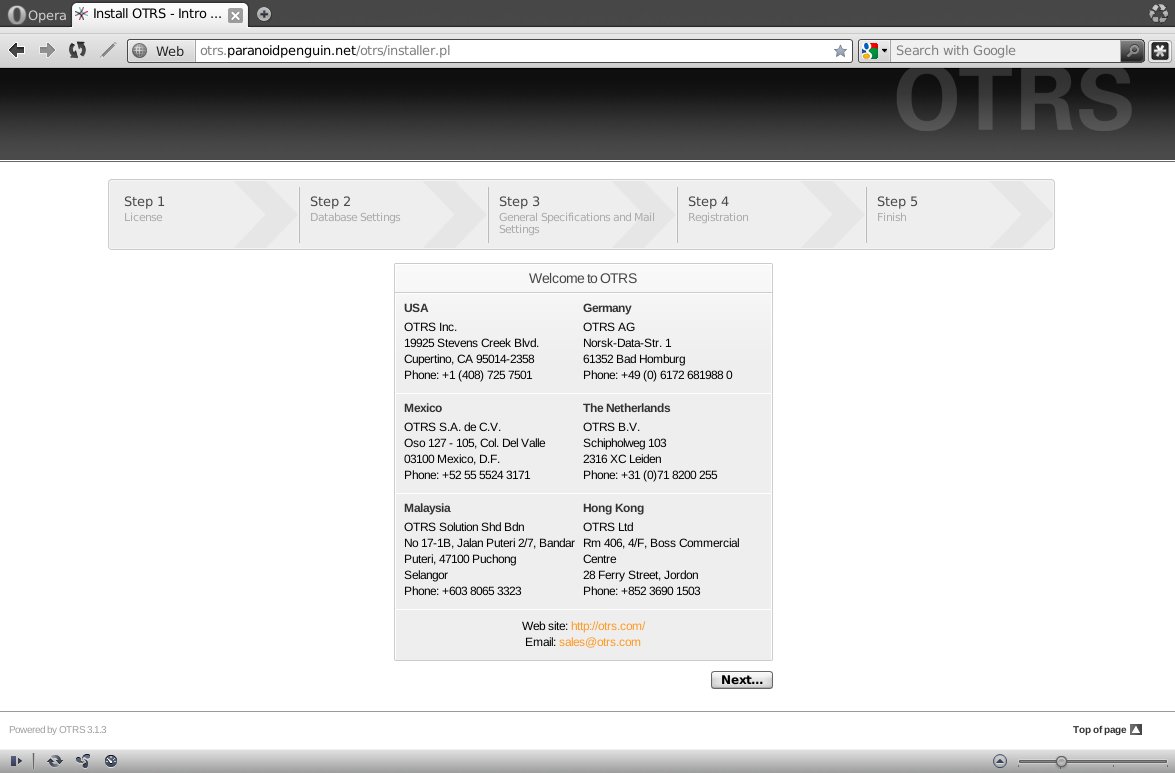
When you load the install path in your browser, you’re greeted by some general info about how to contact OTRS and the steps involved in the install process.
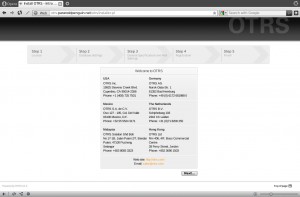
CentOS 6.2 - Welcome to OTRS.
Read and accept the GNU Affero General Public License
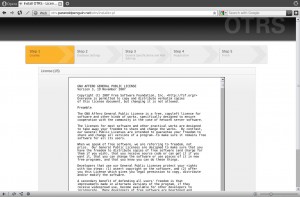
CentOS 6.2 - OTRS GNU Affero General Public License.
Database configuration. Enter the root password you selected during the MySQL server install and set a new password for the otrs user (don’t keep the default password)
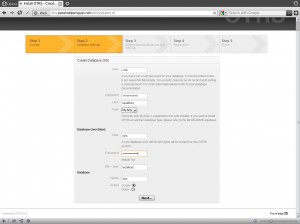
CentOS 6.2 - OTRS database configuration.
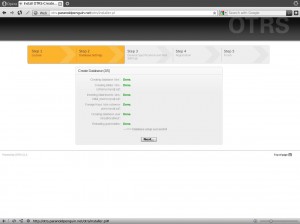
Database configuration successfully completed.
CentOS 6.2 - OTRS system settings.
System settings. Make sure the fqdn is correct and enter an email address for the system administrator.

CentOS 6.2 - OTRS creating database and user.
Mail settings. This will depend on your setup but in my case the outbound SMTP host is localhost as I’m using the previously configured sendmail for SMTP. Use what matches your needs and click the “Check mail configuration” button.

CentOS 6.2 - OTRS mail setup.
Verify your mail setup.
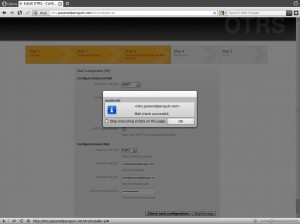
CentOS 6.2 - OTRS verify mail settings.
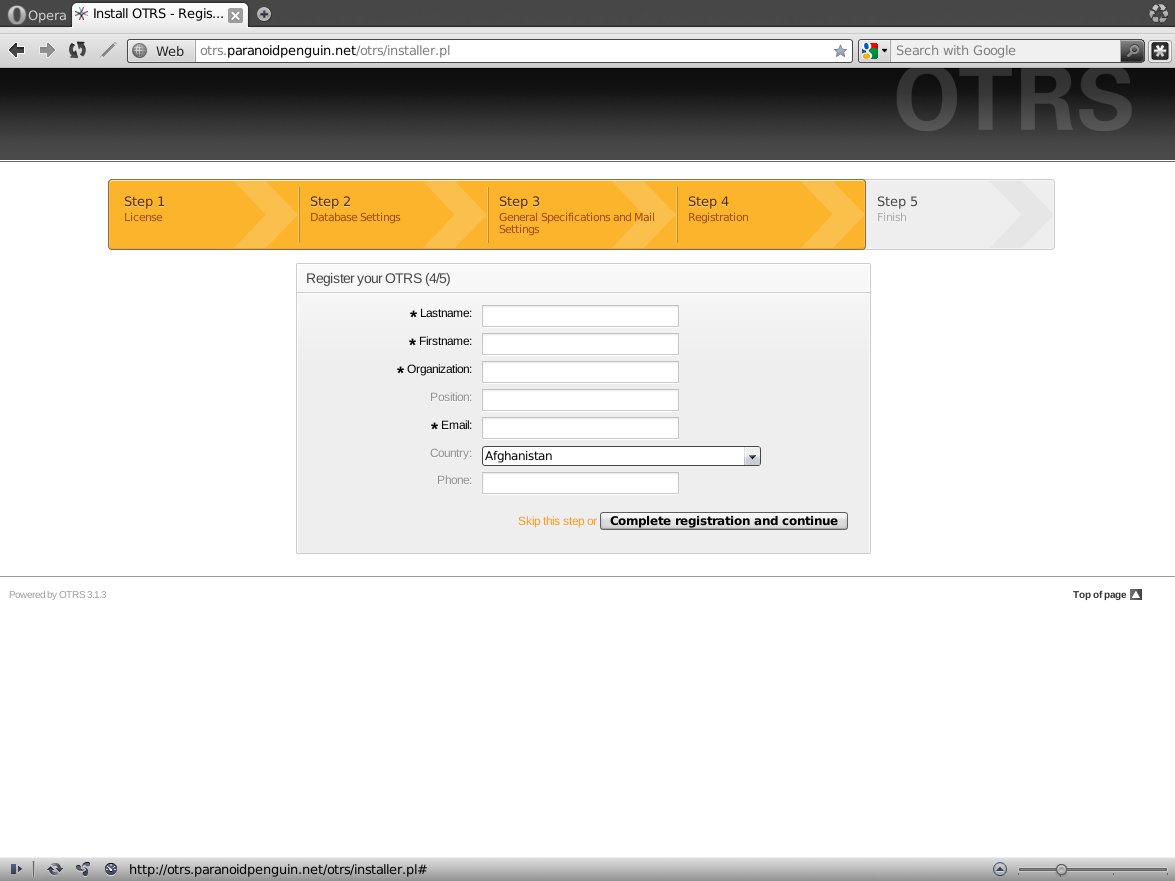
Register your OTRS installation, or skip it to compete the installation without registering.

CentOS 6.2 - OTRS registration.
Congratulations, OTRS is installed.
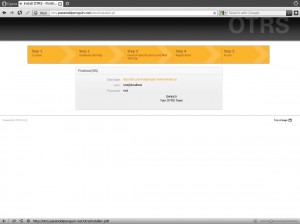
CentOS 6.2 - OTRS installation completed.


OTRS 3.1 – Post install tweaks.
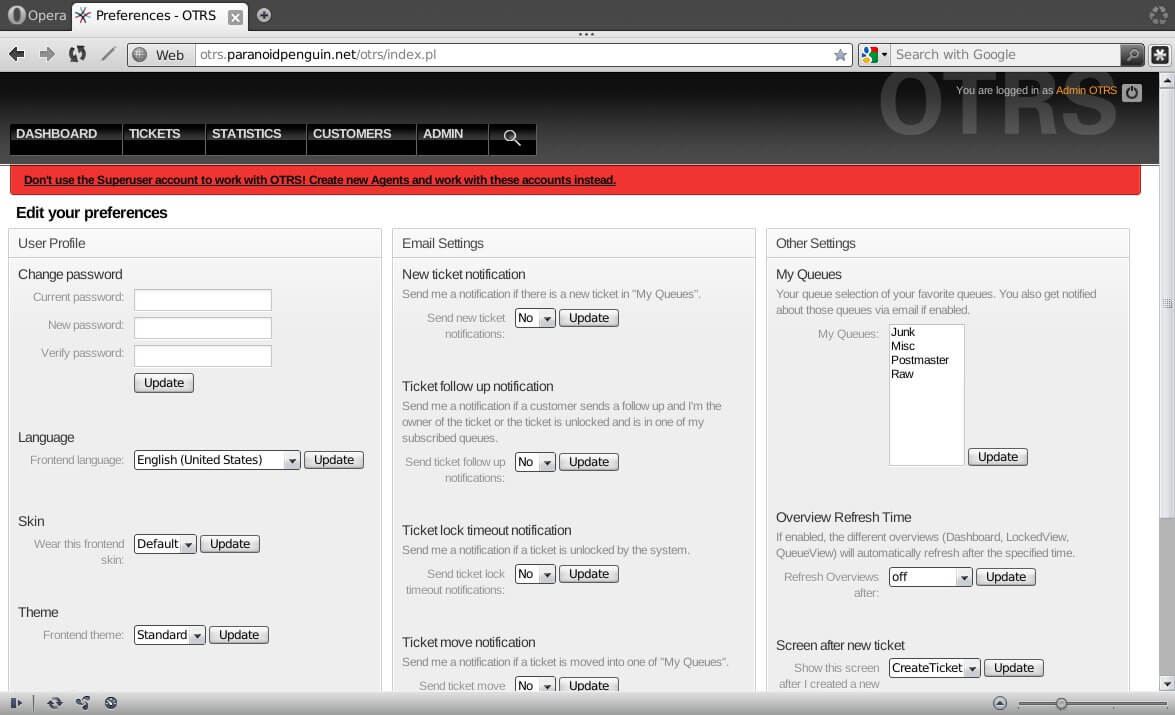
CentOS 6.2 - OTRS admin password change.
Log in as the admin user (root@localhost) and change the default password for your admin account by clicking the username link in the upper right portion of the window. CentOS 6.2 - OTRS system email address.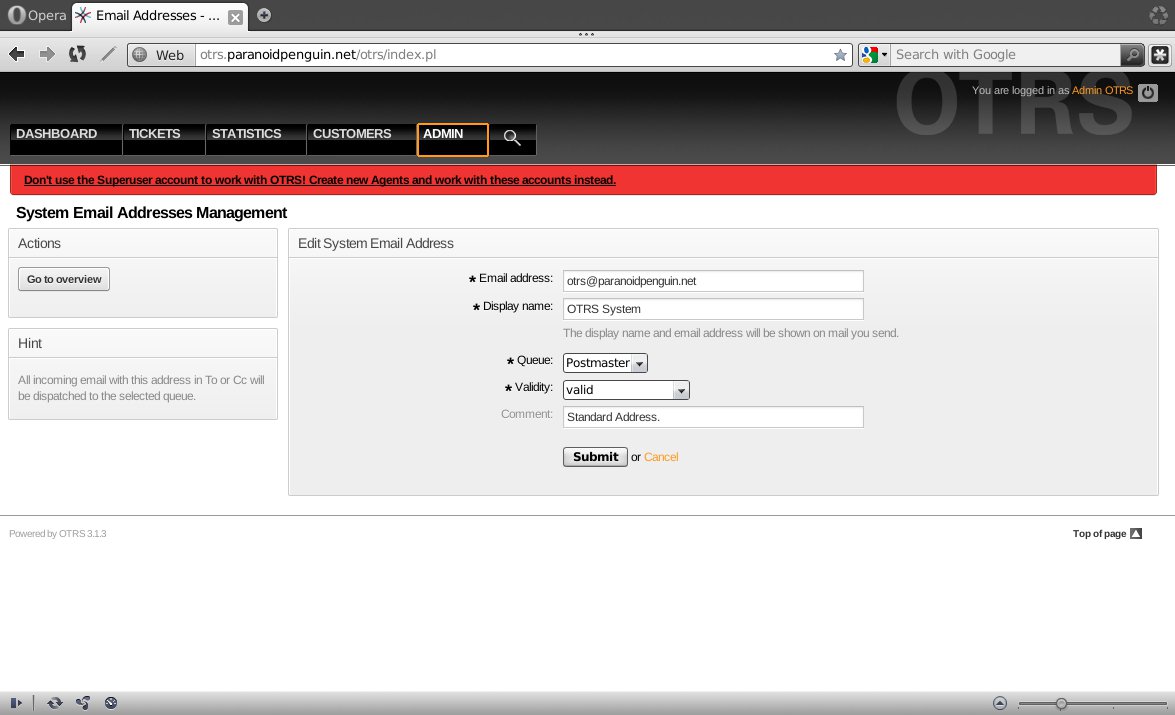
Next we’ll change the sender email address for OTRS. Select the “Admin tab” => [Email Settings] => [Email Addresses “set the sender email addresses for this system”]. Make sure this address isn’t a localhost address (otrs@localhost) as this will make outbound messages from OTRS likely to bounce since few SMTP server’s will accept such an address. CentOS 6.2 - OTRS Support Assessment.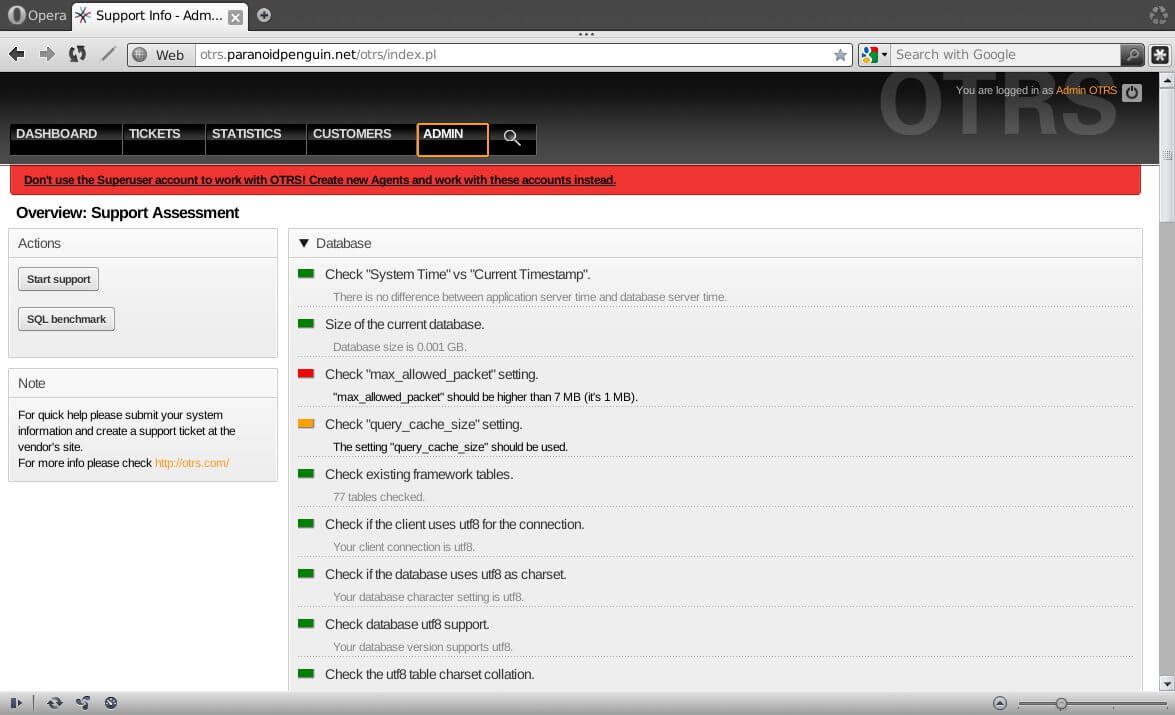
With that out of the way, head over to the “Support Assessment” to check the status of our OTRS installation. Select the “Admin tab” => [System Administration] => [Support Assessment “Admin-Support Overview]. Notice the red and orange icons which indicates the need for tweaking the install. Also scroll down to the list of installed Perl modules and notice that a lot of modules report the status “Not installed”. Installing additional Perl modules from CPAN will significantly boost up functionality / features and performance. We’ll handle that shortly but first we should install the needed cron jobs to allow OTRS to automate communication with other systems and keep up with self maintenance.
OTRS 3.1 – Installing cron jobs for the ‘otrs’ user
The cron jobs should be run with the same user rights that were specified for the OTRS modules. That means that the cron jobs must be inserted into the crontab file of the ‘otrs’ user. However the ‘otrs’ user doesn’t have a shell so we can’t switch to ‘otrs’ with the command su otrs. We could of course give a temporary shell to the ‘otrs’ user but actually, we can still manage by passing some additional arguments to the su command.
-c, --command=COMMAND
pass a single COMMAND to the shell with -c
-m, --preserve-environment
do not reset environment variables
To install the needed cron jobs for the ‘otrs’ user pass the following command:
su -m otrs -c 'cd /opt/otrs/bin/ && ./Cron.sh start'
Then to verify the result by listing all cron jobs for ‘otrs’, run the command:
crontab -l -u otrs
OTRS 3.1 – Tuning MySQL
Remember the warnings from the OTRS “Support Assessment” regarding MySQL max_allowed_packet and query_cache_size. Lets fix that by editing the MySQL config file with the command:
vi /etc/my.cnf
Add the directives:
max_allowed_packet=48M
query_cache_type=1
query_cache_limit=1M
query_cache_size=32M
The MySQL config file should be in the following format:
[mysqld]
datadir=/var/lib/mysql
socket=/var/lib/mysql/mysql.sock
user=mysql
max_allowed_packet=48M

query_cache_type=1
query_cache_limit=1M
query_cache_size=32M

# Disabling symbolic-links is recommended to prevent assorted security risks
symbolic-links=0

[mysqld_safe]
log-error=/var/log/mysqld.log
pid-file=/var/run/mysqld/mysqld.pid
Then restart the MySQL server with the command:
service mysqld restart
OTRS 3.1 – Installing additional Perl modules from CPAN
CPAN, the Comprehensive Perl Archive Network, is an archive of over 100,000 modules of software written in Perl. However, setting up up a CPAN toolchain can be rather complex if you’re not familiar with CPAN (or Perl). Since all we want to do is to install a few additional Perl modules, let us pick the easiest route possible.
And the easiest route possible is definitely CPAN Minus:
cpanminus is a script to get, unpack, build and install modules from CPAN and does nothing else. It’s dependency free (can bootstrap itself), requires zero configuration, and stands alone. When running, it requires only 10MB of RAM.
Before installing, make sure you have already installed the following packages:
make-3.81-19.el6.i686 : A GNU tool which simplifies the build process for users
gcc-4.4.6-3.el6.i686 : Various compilers (C, C++, Objective-C, Java, …)
gd-2.0.35-10.el6.i686 : A graphics library for quick creation of PNG or JPEG images
gd-devel-2.0.35-10.el6.i686 : The development libraries and header files for gd
If not, install them with the command
yum install make gcc gd gd-devel
Now, install cpanminus with the command:
curl -L http://cpanmin.us | perl - --self-upgrade
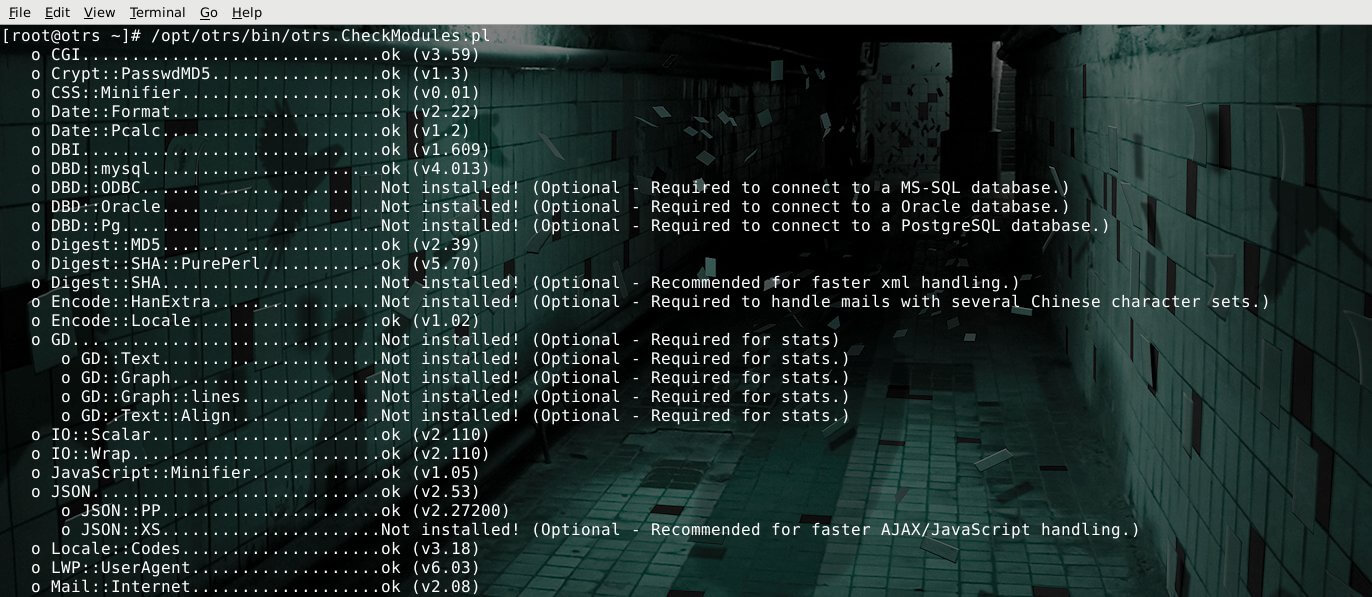
CentOS 6.2 - OTRS Listing Perl modules.
When cpanminus has done it’s thing (might take awhile), check what Perl modules we should install by having OTRS listing them with the command:
/opt/otrs/bin/otrs.CheckModules.pl
CentOS 6.2 - OTRS cpanminus.
As an example, to install the module for PDF output we would use the command:
cpanm PDF::API2
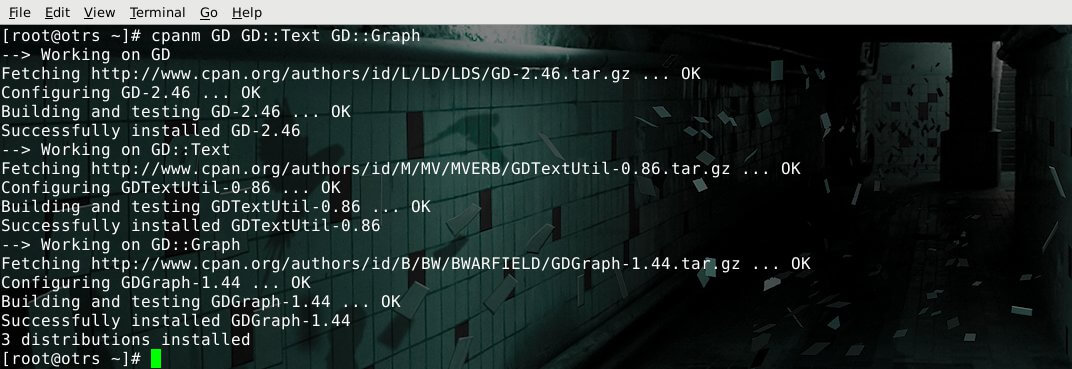
Installing multiple modules in one batch is supported.
cpanm GD GD::Text GD::Graph
Before wrapping up the CPAN part, i would just like to recommended pm-uninstall for, yes a simple way to uninstall Perl modules.
In conclusion, some of the steps in this guide are not really needed to get OTRS up and running, but it’s always a good idea to optimize everything under your control.
You might also argue that we should have used SSL for all mail exchange, and you would be right.